You can pretty easily get Word to generate a table of contents that automatically updates with your document.((Header image provided by Kaitlyn Baker.))
But if you need to follow some special formatting for the table, like in the Student Supplement for The SBL Handbook of Style, it’s less clear how to do that.
If you simply format the table directly, your formatting will get lost the next time the table updates.
The key to make the formatting “stick” is modifying the styles that drive the table of contents.
1. Take stock of how your table looks now.
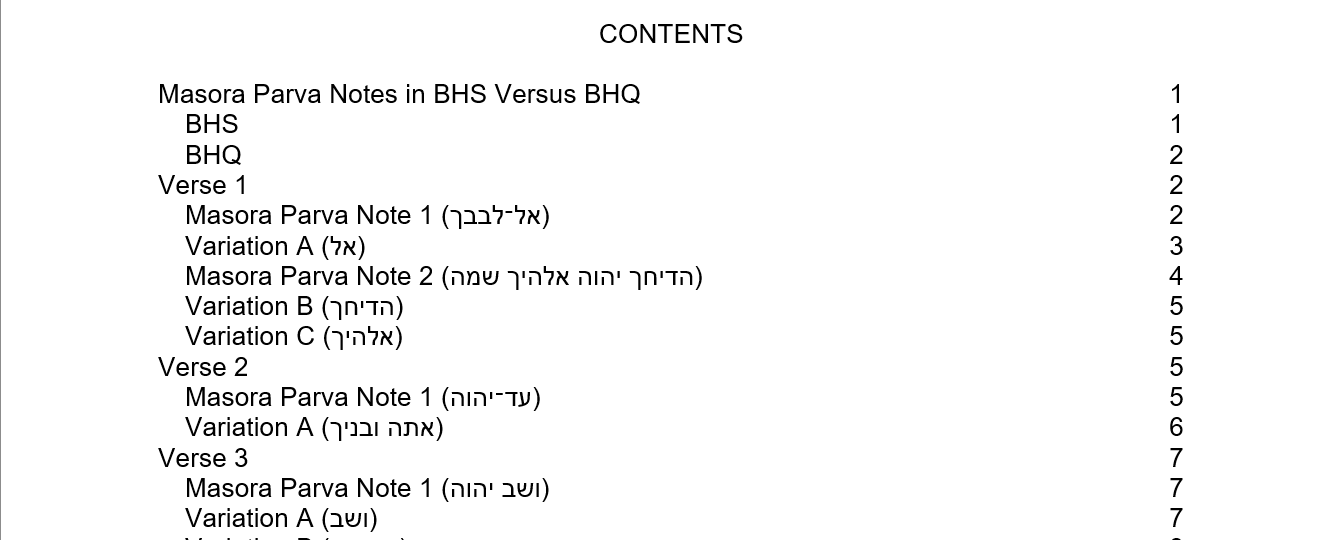
If you followed along with my process for inserting a table of contents, you may initially see something like this:

The casing for each line of the table of contents will be as it is in that heading.
You won’t have any line leaders, and your page numbers will be listed straight down the right margin.
2. Take stock of how your table should look.
If this is how you’re table of contents looks, you’re in the ballpark. But you still need a few minor changes to get what the Student Supplement asks for (§3.2).
That is, in the table of contents, when you have
- Primary headings, you need the headings in all caps and a dotted line leader between the heading and the page number.
- First-level subheadings, you need the headings indented three spaces from the left-hand margin.
- Second-level subheadings, you need the heading indented three more spaces (six total) from the left-hand margin and so on with subsequent levels of subheadings.((To me, it seems that this practice is most in keeping with the Student Supplement’s intent. Otherwise, it won’t be clear in the table of contents where second-level subheadings come underneath first-level subheadings in the paper. The headings in the table of contents will both be indented by the same amount. But this is what the example in the Student Supplement §3.2 shows. The Student Supplement doesn’t give further information about indenting third- through fifth-level subheadings in a table of contents. Presumably, therefore, these would be indented underneath second- through fourth-level subheadings. Consequently, I am interpreting the example in the Student Supplement §3.2 as slightly awry and the intention as being to have second-level subheadings indented three spaces more than first-level subheadings. I’ve written SBL Press to confirm this interpretation but have yet to hear back as of this writing.))
3. Identify what formatting you need to adjust.
From our example table of contents above, you’ll just need to change the primary headings’ casing and line leader format.
Depending on how you have the rest of your document formatted, you may also need to change the line spacing in your table of contents so that it’s double spaced as the Student Supplement requires.
But the Student Supplement’s “three spaces” of indentation is essentially equivalent to the 0.15 inches.
This distance is the indentation that Word applies to these subheadings by default. So you shouldn’t need to adjust this indentation at all.
Conclusion
If you try to apply formatting directly to any of these portions of your table of contents, your formatting will be lost when your full table is refreshed.
Fortunately, each level in your table of contents has a specific style associated with it that controls how that level in your table appears.
So all you need to do to change the formatting of a given heading level in your table of contents is to edit the corresponding style.
